
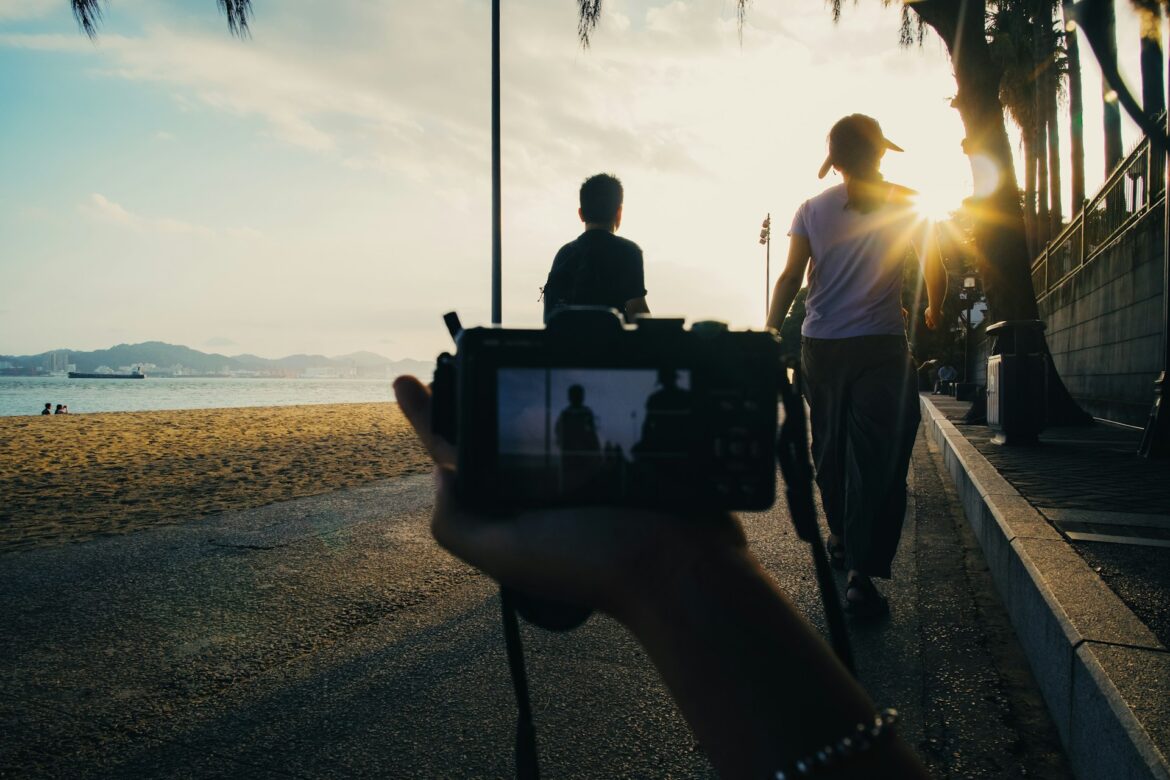
There’s a specific kind of exhaustion that hits adventure travelers who document everything. It’s not physical tiredness (though that’s there too). It’s the creeping feeling that somewhere between the third GoPro mount adjustment and the seventh angle attempt, the actual experience slipped by.
This is the central tension of modern travel vlog culture, and it doesn’t get talked about honestly enough. The pursuit of footage can quietly colonize the trip itself. And the cruel irony is that the most authentic, watchable travel video content almost never comes from creators who were obsessing over every shot. It comes from people who were present and happened to be filming.
So, how can you document an adventure trip without becoming a one-person film crew that neglects to go on the experience?
Table of Contents
Start With the Story
Before any lens cap comes off, the most useful thing a traveler-creator can do is think about what kind of story this trip might tell. Not a rigid script. Just a loose narrative shape. Is this a solo challenge? A friendship trip? A first time in an overwhelming new culture? Knowing the emotional core of what’s being documented changes every filming decision that follows.
Trip planning software such as Wanderlog or even a well-organized Notion board is more than simply logistical tools; they are also pre-production documentation. Mapping the schedule ahead reveals where the natural dramatic beats may occur: arrival day commotion, mid-trip turning point, and the last morning. A little structure makes it easier to be present in the moment.
And slow travel is, unexpectedly, one of the best filming strategies. More time in one location means more chances to catch real moments: a local market at 6 am, an afternoon storm, the way a place feels after the tour groups leave. Discover destinations at a human pace, and the camera starts capturing something closer to the truth.
Gear That Actually Travels With You
The best GoPro camera debate is a reliable internet rabbit hole. Spoiler: for most adventure travel purposes, any GoPro from the Hero 11 onward – or the GoPro Hero 13 for those who want the current top of the line – handles the job exceptionally well. Waterproof, compact, shockproof, and able to shoot in conditions that would destroy a DSLR without a second thought. That’s the point.
But here’s the thing about gear essentials for adventure trips: the best camera is consistently the one that’s actually out and accessible. A high-end mirrorless sitting safely in a padded case while someone scrambles up a canyon wall isn’t capturing anything. A GoPro clipped to a chest mount or a smartphone in a hip pocket is getting everything.
The realistic kit for most adventure travelers looks something like this:
- Primary camera – GoPro or action cam for movement-heavy moments, smartphone for quieter scenes, and casual B-roll. A small mirrorless if the trip has downtime that allows for it.
- Audio backup – A clip-on lavalier for any talking-to-camera moments, plus a habit of letting scenes breathe so natural ambient sound records cleanly.
That’s it, genuinely. Tripods, sliders, and drones – all useful if the trip’s pace allows. But on a fast-moving adventure, extra gear is mostly extra weight and extra friction between the moment and actually filming it.
The Camera Settings Conversation
It takes a lot of time for most trip blogs and vlog lessons to talk about camera settings. But all in all, they make general suggestions. In other words, shoot with more frames per second than you think you need. 60fps for normal footage lets you slow it down without losing quality. For action scenes, it’s worth the extra space to store 120fps or more. Keeping the shutter speed at twice the frame rate (the “180-degree rule”) creates natural motion blur that feels dramatic instead of shaky when it comes to exposure.
Spend twenty minutes learning camera settings before the trip, not during it. Standing in front of a waterfall and straining at menus is a certain way to miss both the waterfall and the picture.
For GoPro, go with the following: ProTune on, flat color profile, manual white balance where the lighting is consistent. That sounds like a lot. However, it just takes about a minute to set up once, and it is done for the day.
Editing Without Losing Days of Your Life
The editing process is where many adventure travel creators either overcomplicate things or give up entirely. The middle path exists, and it starts with not overthinking software.
Video editing software free options have genuinely matured. Movavi Video Editor remains the benchmark – professional-grade color tools, a clean timeline, and a myriad of useful features. For quicker, mobile-first editing, CapCut handles vertical formats and basic cuts with a minimal learning curve.
Free movie maker tools built into operating systems – Windows’ Clipchamp, Apple’s iMovie – are underrated starting points for creators who are still building the editing habit. They lack advanced features, yes. But they enforce a useful constraint: focus on the story, not the effects.
The editing principle that matters most for adventure content: cut for feeling, not for completeness. Nobody watching a travel video needs to see every transition between locations. They need to feel the exhaustion before the summit, and the quiet after it.
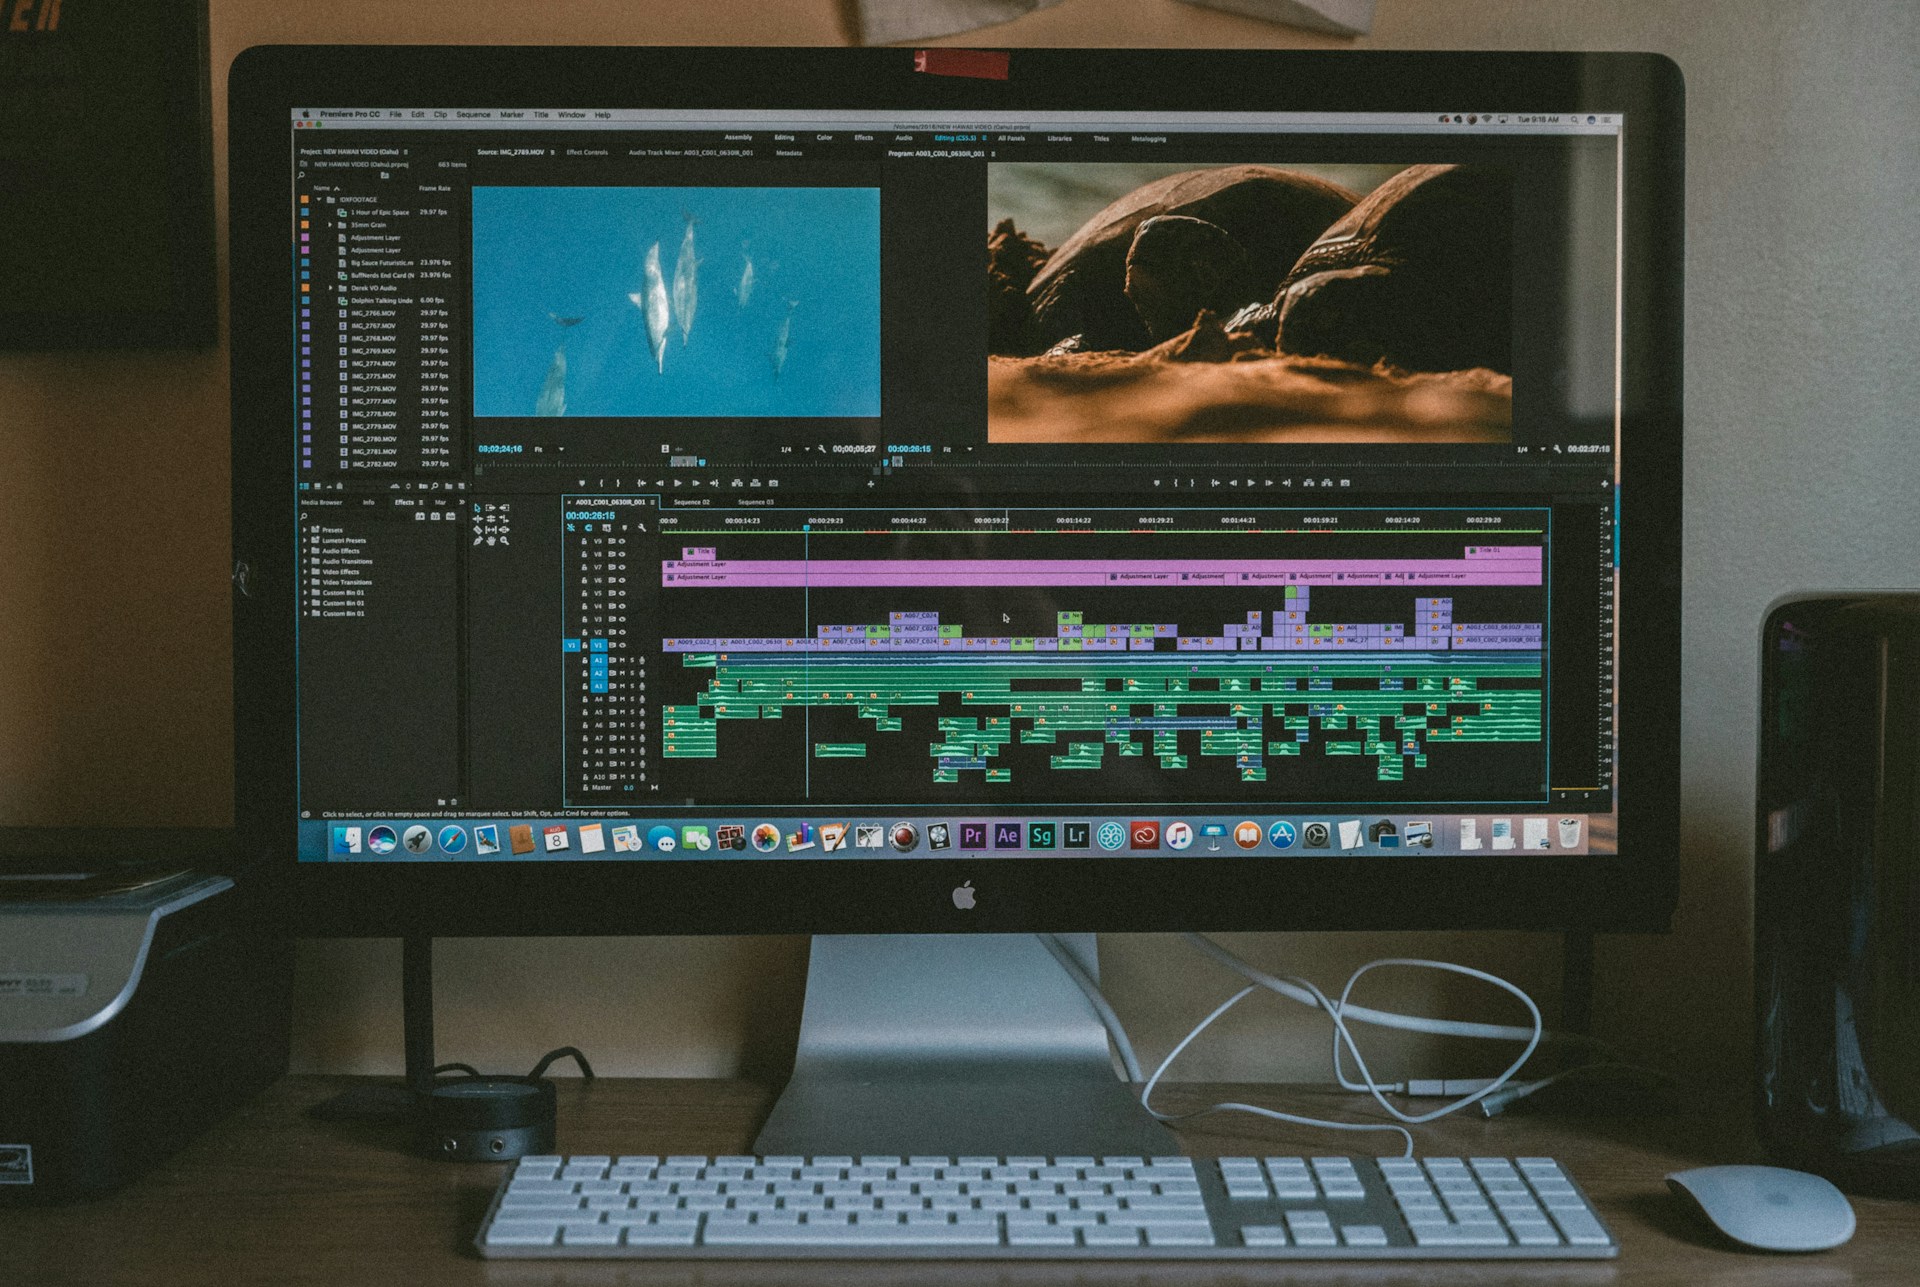
Photo by Jakob Owens on Unsplash
Starting a Travel Vlog Without the Performative Pressure
Starting a travel vlog is advice that sounds simple until someone actually tries to film themselves mid-rappel, or narrate a food experience while genuinely eating and enjoying it. The performance layer takes time to feel natural. And that’s fine.
A useful reframe: the camera isn’t an audience. It’s a journal. Talking to it casually, briefly, and imperfectly produces far more watchable content than scripted pieces delivered with visible effort. The traveling experience translates on screen when it’s clearly being lived, not performed for.
Video editing software becomes a creative tool rather than a correction tool when the footage has authentic energy to begin with. A free movie maker can fix pacing, color, and sequencing. It can’t manufacture the feeling of someone genuinely surprised by a place, or genuinely moved by an experience. That has to come from the trip itself.
The Permission to Put the Camera Away
This might be the most counterintuitive advice in any guide aimed at travel content creators, but here it is: some moments aren’t for filming.
The summit after a brutal climb. A conversation with a stranger that goes somewhere unexpected. A meal that’s too good and too present to document. These moments feed the trip in ways that sustain everything else – the energy, the genuine enthusiasm, the reason the travel blog or channel exists in the first place.
The greatest camera for adventure travel is neither the most costly nor the most flexible. It’s the one held by someone who can recall why they went in the first place.
*This article has been contributed to Owl Over The World.
**Featured photo is by Karwin Luo on Unsplash
